
There’s something utterly comforting about a batch of homemade fudge, isn’t there? I’ve been whipping up this easy fudge recipe for years, and it’s become a firm favourite in our house. It’s perfect for rainy afternoons when the kids are bouncing off the walls, or as a special treat to celebrate the end of a long school week. After countless attempts (and many sticky fingers), I’ve perfected a version that’s foolproof, utterly delicious, and requires minimal effort. My two, Thomas and Emily, practically inhale it! Trust me, this recipe is a winner, and it’ll become a regular in your family’s repertoire too. You’ll gain a simple, reliable recipe that delivers creamy, melt-in-your-mouth fudge every single time.
Why This Recipe Works
This easy fudge recipe isn’t just delicious, it’s also incredibly practical for busy families. I know how precious time is, and this recipe respects that. With over 8 years of home cooking under my belt, I’ve learned what works and what doesn’t. Here’s why this fudge recipe stands out:
- Simple Ingredients: You probably already have most of the ingredients in your pantry. No need for fancy trips to specialist shops.
- Quick & Easy: The entire process, from start to finish, takes less than 30 minutes, excluding chilling time.
- Child-Approved: My children are brutally honest critics, and they absolutely adore this fudge. Need I say more?
Ingredients
- 397g (14 oz) can sweetened condensed milk
- 400g (14 oz) milk chocolate, chopped
- 115g (4 oz) butter, unsalted
- 1 teaspoon vanilla extract
- Pinch of salt
Ingredient Notes
Let’s break down these ingredients a bit:
- Sweetened Condensed Milk: This is the key to the fudge’s creamy texture. Don’t try to substitute it with evaporated milk; it won’t work the same.
- Milk Chocolate: I prefer using a good quality milk chocolate (around 30% cocoa solids) for the best flavour. You can use dark chocolate if you prefer a richer, less sweet fudge.
- Unsalted Butter: Using unsalted butter allows you to control the saltiness of the fudge.
- Vanilla Extract: Adds a lovely depth of flavour. Use a good quality extract for the best results.
- Salt: Just a pinch enhances the sweetness and balances the flavours.
Step-by-Step Instructions
Follow these simple steps for fudge perfection:
- Step 1: Prepare the Tin. Grease and line an 8-inch square baking tin with parchment paper, leaving an overhang on two sides. This makes it easy to lift the fudge out later.
- Step 2: Combine Ingredients. In a large, microwave-safe bowl, combine the sweetened condensed milk, chopped chocolate, butter, vanilla extract, and salt.
- Step 3: Melt the Chocolate. Microwave on medium power in 30-second intervals, stirring well after each interval, until the chocolate is completely melted and the mixture is smooth. Through trial and error, I’ve learned that patience is key here don’t overheat the chocolate!
- Step 4: Pour into Tin. Pour the melted fudge mixture into the prepared tin and spread evenly with a spatula.
- Step 5: Chill. Cover the tin with cling film and refrigerate for at least 2 hours, or preferably overnight, until the fudge is firm.
- Step 6: Cut & Serve. Once the fudge is firm, lift it out of the tin using the parchment paper overhang. Cut into squares and serve. My children prefer smaller squares, but feel free to cut them as large as you like!
My Kitchen Tips & Tricks
Here are a few tricks I’ve picked up over the years to ensure fudge success:
- Don’t Overheat the Chocolate: This is the most common mistake. Microwaving in short bursts and stirring frequently prevents the chocolate from seizing.
- Line the Tin Properly: The parchment paper overhang is a lifesaver when it comes to removing the fudge.
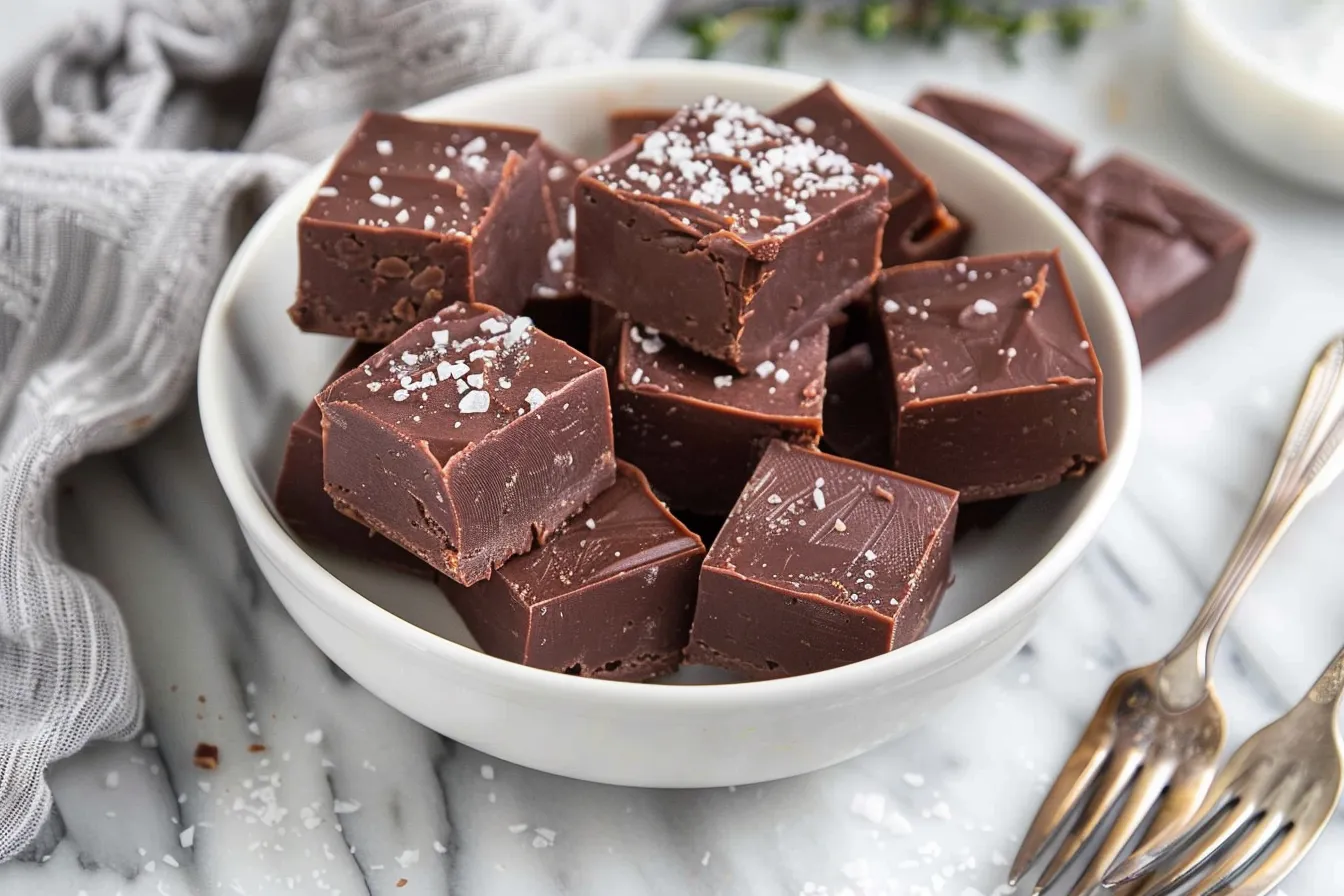
- Add Toppings: Get creative with toppings! Sprinkles, chopped nuts, dried fruit, or even a swirl of peanut butter can add a fun twist. My Emily loves sprinkles; it’s always a hit!
- Use a Good Quality Chocolate: The better the chocolate, the better the fudge. It really does make a difference.
- Chill Thoroughly: Resist the urge to cut into the fudge before it’s fully set. Patience is rewarded with a firm, clean-cut fudge.
- Salted Butter Substitute: If you only have salted butter, omit the added pinch of salt in the recipe.
- Don’t Rush: While this recipe is quick, each step is important. Take your time for best results.
Storage & Meal Prep
This fudge is incredibly easy to store, making it perfect for meal prepping:
- Storage: Store the fudge in an airtight container at room temperature for up to 1 week, or in the refrigerator for up to 2 weeks.
- Freezing: You can also freeze the fudge for up to 2 months. Wrap it tightly in cling film and then in a freezer bag. Thaw in the refrigerator before serving.
- Make-Ahead: This fudge is perfect for making ahead of time. Simply prepare it a day or two in advance and store it in the refrigerator.

Substitutions & Variations
Want to mix things up a bit? Here are a few variations you can try:
- Dark Chocolate Fudge: Substitute the milk chocolate with dark chocolate for a richer, less sweet fudge.
- Peanut Butter Fudge: Swirl peanut butter into the fudge mixture before chilling.
- Mint Chocolate Fudge: Add a few drops of peppermint extract to the fudge mixture.
- White Chocolate Fudge: Substitute the milk chocolate with white chocolate and add some dried cranberries for a festive twist.
- Dairy-Free Fudge: I haven’t personally tested this, but you could try using dairy-free chocolate and a dairy-free condensed milk alternative. However, I can’t guarantee the results.
Frequently Asked Questions
Can I prepare this the night before?
Absolutely! In fact, I often do this on Sunday evenings before the busy school week. Simply prepare everything, pour into your lined tin, cover tightly, and refrigerate. It’s ready to cut into squares after a good chilling overnight.
How do I know when the fudge is done?
The fudge is done when it’s firm to the touch. If it’s still soft after a couple of hours in the fridge, give it a little longer. Don’t worry, it will set!
Can I use different types of chocolate?
Yes, you can! Milk, dark, and white chocolate all work well in this recipe. Just be sure to adjust the sweetness accordingly. Dark chocolate will result in a less sweet fudge, whilst white chocolate is the sweetest option.
How should I store the leftovers?
Store the leftover fudge in an airtight container at room temperature for up to a week, or in the refrigerator for up to two weeks. This will help prevent it from drying out.
Is this fudge suitable for children?
Yes, it is! My two absolutely love this fudge. However, it is quite sweet, so moderation is key. This is a treat and not something to be enjoyed every day.
Can I scale this recipe for a larger group?
Yes, you can easily double or triple the recipe. Just be sure to use a larger baking tin to accommodate the increased volume.
What if my chocolate seizes when melting?
Oh dear! This can happen. Try adding a teaspoon of vegetable oil, but don’t over-mix at this stage. It’s better to start over, being mindful not to overheat.
Serving Suggestions
This fudge is delicious on its own, but here are a few serving suggestions to elevate the experience:
- Serve with a cup of tea or coffee for a comforting afternoon treat.
- Include it in a dessert platter alongside other sweets and treats.
- Crumble it over ice cream for a decadent sundae.
- Package it in small gift boxes as a homemade present for friends and family.
My family typically enjoys this fudge on its own, but sometimes I’ll crumble it over a bowl of vanilla ice cream for an extra special treat. Portion guidance wise, I allow the children one or two small squares, depending on how recently they’ve eaten!
And there you have it my foolproof easy fudge recipe. I truly hope you’ll give it a try and share your honest feedback in the comments below. I’m always eager to hear about your kitchen adventures and any variations you might come up with. Remember, this recipe is all about creating sweet moments with your family, and I’m confident it will become a cherished tradition in your home, just as it has in mine. It’s the perfect way to bring a little joy into busy family life, one delicious square at a time. Feel free to browse my other family-friendly recipes on FamiliesRecipes.com or join my email community for more kitchen wisdom and delightful treats. Happy cooking!
PrintEasy Fudge Recipe The Ultimate Dessert Guide

Easy fudge recipe guide Quick dessert recipe perfect easy fudge for novice bakers Learn ultimate dessert tech for foolproof fudge
- Prep Time: 10 minutes
- Cook Time: 5 minutes
- Total Time: 15 minutes
- Yield: 64 squares
- Category: Dessert
- Cuisine: English
Ingredients
Instructions
Notes
Delight in this incredibly Easy Fudge Recipe! Perfect for busy families, using simple ingredients. Get the recipe & tips from English home cook, Jessica Mitchell!