
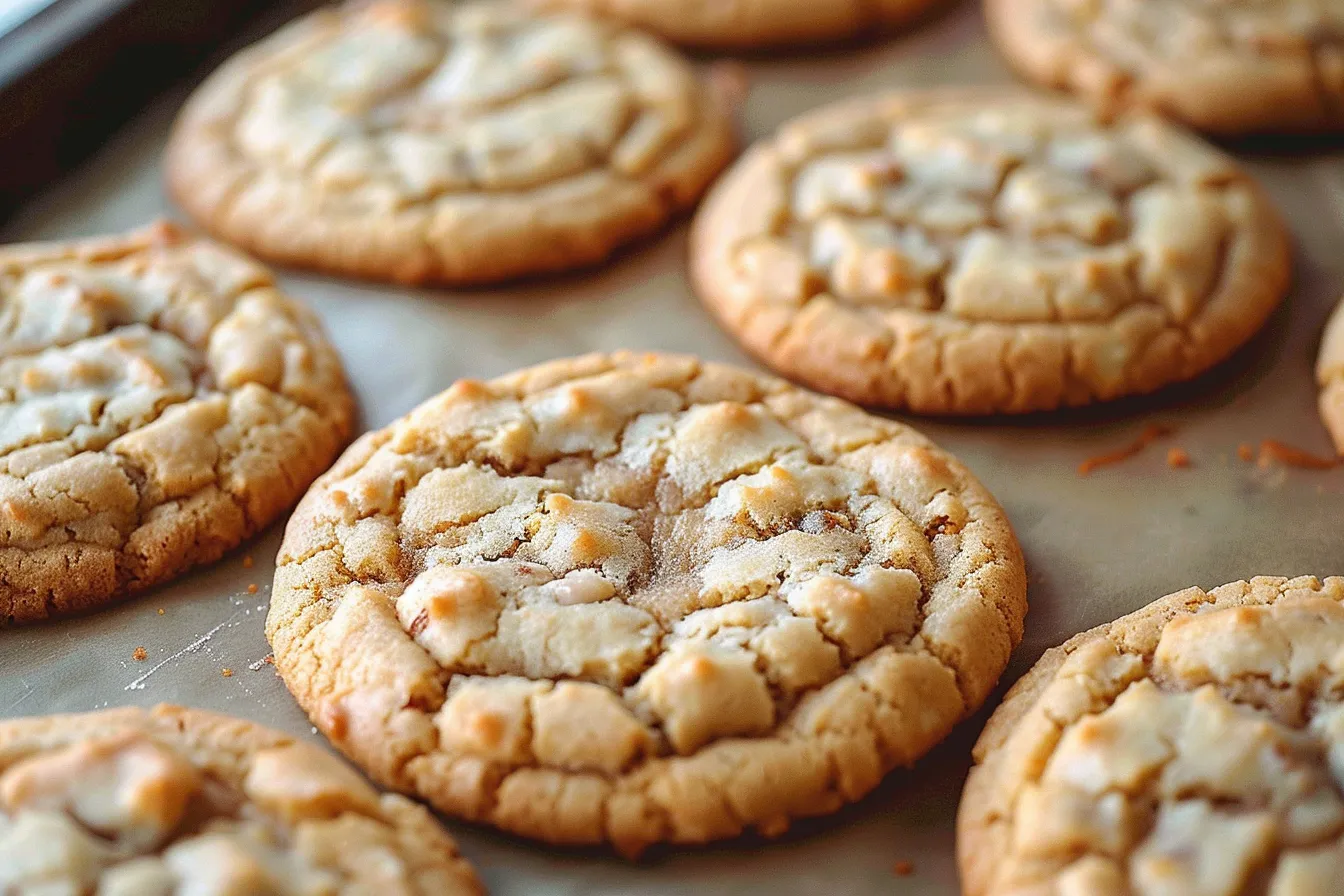
Right, let’s talk about cookies. Not just any cookies, but Snoop Dogg’s Rolls Royce Cookies. Now, I know what you’re thinking: “Snoop Dogg? Cookies?” But trust me, these are something special. I first stumbled upon this recipe online, and after a couple of attempts to get it just right (the first batch was a tad… well, let’s just say the oven and I had words), I’ve finally cracked it. My two little testers, bless their hearts, practically inhaled them. This is a recipe that brings a bit of fun and a whole lot of deliciousness into our often-chaotic family life. I promise you, these cookies are worth the effort – even if you don’t drive a Rolls Royce!

Why This Recipe Works
As a mum juggling school runs, homework battles, and the never-ending laundry pile, I need recipes that are quick, easy, and, most importantly, don’t require a degree in patisserie. These Rolls Royce Cookies tick all the boxes. After 8+ years of home cooking and a few cookie disasters under my belt, I’ve learned what works and what doesn’t. Here’s why this recipe is a winner:
- Straightforward Method: No complicated techniques or fancy equipment needed.
- Child-Approved: My two are brutally honest critics, and they gave these cookies a resounding thumbs up.
- Uses Everyday Ingredients: You probably already have most of the ingredients in your pantry.
Ingredients
- 225g unsalted butter, softened
- 150g granulated sugar
- 150g light brown sugar, packed
- 2 large eggs
- 1 teaspoon vanilla extract
- 300g all-purpose flour
- 1 teaspoon baking soda
- ½ teaspoon salt
- 200g chocolate chips (milk, dark, or a mix)
Ingredient Notes
Let’s break down the ingredients a bit. The softened butter is crucial for a good cookie texture – don’t melt it! Both granulated and brown sugar contribute to the cookie’s flavour and chewiness; don’t skip either. Vanilla extract is essential for that classic cookie flavour, but you can experiment with other extracts like almond or maple. For the chocolate chips, I often use a mix of milk and dark chocolate to satisfy everyone. If you’re feeling fancy, you can add some chopped nuts as well. I usually get all my ingredients from Tesco or Sainsbury’s, but any major supermarket will do just fine. If you’re on a budget, own-brand chocolate chips work perfectly well!
Step-by-Step Instructions
- Cream the Butter and Sugars: In a large bowl, cream together the softened butter, granulated sugar, and brown sugar until light and fluffy. This usually takes about 3-5 minutes with an electric mixer. It’s important to get this step right, as it incorporates air into the dough, resulting in a lighter cookie.
- Add Eggs and Vanilla: Beat in the eggs one at a time, then stir in the vanilla extract. Make sure each egg is fully incorporated before adding the next.
- Combine Dry Ingredients: In a separate bowl, whisk together the flour, baking soda, and salt. This ensures that the baking soda is evenly distributed throughout the flour.
- Gradually Add Dry Ingredients to Wet Ingredients: Gradually add the dry ingredients to the wet ingredients, mixing until just combined. Be careful not to overmix, as this can result in tough cookies. I’ve learned through trial and error that a gentle hand is key here.
- Stir in Chocolate Chips: Stir in the chocolate chips until evenly distributed throughout the dough.
- Chill the Dough: Cover the bowl with cling film and chill the dough in the refrigerator for at least 30 minutes. This helps prevent the cookies from spreading too much during baking. Sometimes I chill it for longer if I’m busy, even overnight!
- Preheat Oven: Preheat your oven to 190°C (170°C fan/Gas Mark 5). Line baking sheets with parchment paper.
- Drop by Rounded Tablespoons: Drop rounded tablespoons of dough onto the prepared baking sheets, leaving a little space between each cookie.
- Bake: Bake for 9-11 minutes, or until the edges are golden brown and the centres are still slightly soft.
- Cool: Let the cookies cool on the baking sheets for a few minutes before transferring them to a wire rack to cool completely. This prevents them from breaking.
My Kitchen Tips & Tricks
- Soft Butter is Key: Make sure your butter is properly softened, but not melted. It should be soft enough to easily press a finger into.
- Don’t Overmix: Overmixing develops the gluten in the flour, resulting in tough cookies. Mix until just combined.
- Chill the Dough: Chilling the dough is crucial for preventing the cookies from spreading too much. Don’t skip this step!
- Baking Time Varies: Keep a close eye on the cookies while they’re baking. Baking times can vary depending on your oven.
- Underbake Slightly: For soft and chewy cookies, underbake them slightly. They will continue to cook on the baking sheet as they cool.
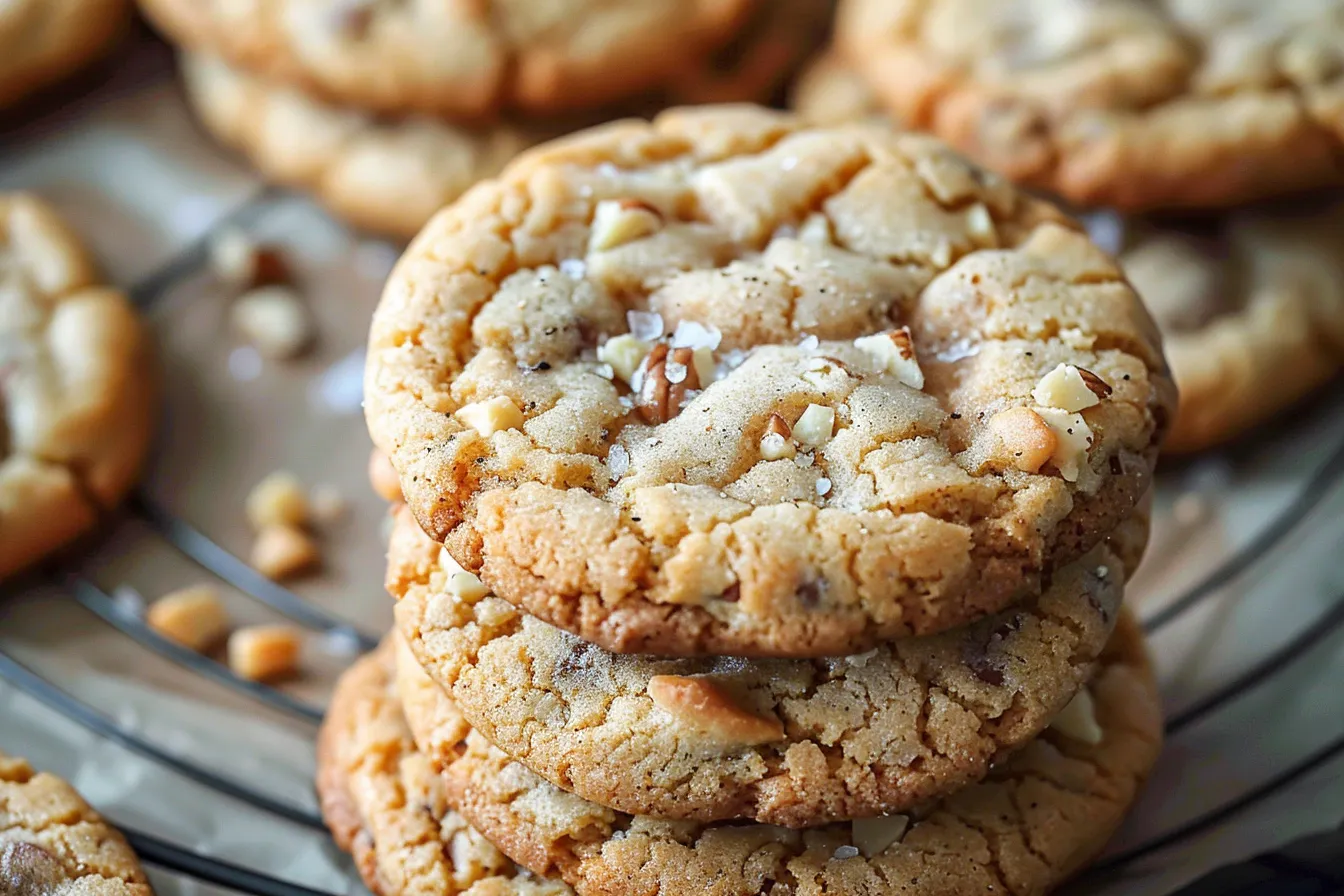
- Add a Pinch of Sea Salt: A sprinkle of sea salt on top of the baked cookies enhances the flavour and adds a lovely contrast to the sweetness. My children actually enjoy this!
- Make-Ahead Tip: The dough can be made ahead of time and stored in the refrigerator for up to 3 days, or in the freezer for up to 3 months.
Storage & Meal Prep
These cookies are best enjoyed fresh, but they can be stored in an airtight container at room temperature for up to 3 days. If you want to keep them longer, you can freeze them for up to 2 months. To reheat frozen cookies, simply thaw them at room temperature for a few hours. The dough can also be made ahead of time and stored in the refrigerator for up to 3 days, or in the freezer for up to 3 months. This is a great way to prep for a busy week!
Substitutions & Variations
I’m all about adapting recipes to suit different dietary needs and preferences. Here are a few substitutions and variations I’ve tried:
- Gluten-Free: Use a gluten-free all-purpose flour blend. I’ve had good results with the Doves Farm blend.
- Dairy-Free: Use a dairy-free butter alternative and dairy-free chocolate chips.
- Nut-Free: Make sure all ingredients are nut-free, and omit any nuts from the recipe.
- Different Chocolate: Experiment with different types of chocolate chips, such as white chocolate or peanut butter chips.
- Add-Ins: Add other ingredients, such as chopped nuts, dried fruit, or sprinkles.
Frequently Asked Questions
Can I prepare this the night before?
Absolutely. In fact, I often do this on Sunday evenings before the busy school week. Simply prepare the dough, cover tightly, and refrigerate. Bring it to room temperature for about 15 minutes before baking, and you’ll save yourself precious morning time.
How do I know when the cookies are done?
The cookies are done when the edges are golden brown and the centres are still slightly soft. They will continue to cook on the baking sheet as they cool, so don’t overbake them.
Can I substitute the brown sugar for something else?
If you don’t have brown sugar, you can use all granulated sugar, but the cookies will be slightly less chewy. Adding a tablespoon of molasses to the granulated sugar can also work as a substitute.
How should I store the leftover cookies?
Store the cookies in an airtight container at room temperature for up to 3 days. To keep them fresher for longer, you can store them in the refrigerator for up to a week.
Will my children enjoy these cookies?
In my experience, yes! My two absolutely adore them. The chocolate chips are always a hit, and the soft, chewy texture is appealing to most children. But be warned, they might disappear quickly!
Can I scale this recipe for a larger or smaller batch?
Yes, you can easily scale this recipe up or down. Just double or halve all the ingredients accordingly. Keep in mind that baking times may need to be adjusted slightly.
What can I do if my cookie dough is too sticky?
If your cookie dough is too sticky, add a tablespoon or two of flour at a time until it reaches a more manageable consistency. Be careful not to add too much flour, as this can make the cookies tough.
Serving Suggestions
These cookies are perfect on their own with a cup of tea (naturally!), but they also pair well with a glass of cold milk or a scoop of vanilla ice cream. For a simple presentation, arrange the cookies on a pretty plate or in a basket lined with a tea towel. As for portion guidance, I usually let everyone have two or three, depending on how hungry they are. My family typically enjoys these cookies as an afternoon treat or after dinner.
So, there you have it – Snoop Dogg’s Rolls Royce Cookies, made family-friendly and foolproof (well, almost!). This recipe is a winner because it’s straightforward, uses everyday ingredients, and, most importantly, brings a smile to everyone’s face. Give it a try, and don’t be afraid to put your own spin on it. I’d love to hear your honest feedback in the comments below. And if you’re looking for more family-friendly recipes, be sure to check out the rest of FamiliesRecipes.com or join my email community for exclusive content and tips. Happy baking!
PrintSnoop Doggs Rolls Royce Cookies Recipe

Snoop Doggs Rolls Royce Cookies recipe unveiled Get the secret ingredients baking techdelicious cookies Rolls Royce taste Snoop Dogg style
- Prep Time: 15 minutes
- Cook Time: 10 minutes
- Total Time: 25 minutes
- Yield: Approximately 24 cookies
- Category: Cookie
- Cuisine: American
Ingredients
- 225 grams of unsalted butter, softened
- 150 grams of granulated sugar
- 150 grams of light brown sugar, packed
- 2 large eggs
- 1 teaspoon of vanilla extract
- 300 grams of all-purpose flour
- 1 teaspoon of baking soda
- ½ teaspoon of salt
- 200 grams of chocolate chips (milk, dark, or a mix)
Instructions
- Cream the Butter and Sugars: In a large bowl, cream together the softened butter, granulated sugar, and brown sugar until light and fluffy. This usually takes about 3-5 minutes with an electric mixer.
- Add Eggs and Vanilla: Beat in the eggs one at a time, then stir in the vanilla extract. Make sure each egg is fully incorporated before adding the next.
- Combine Dry Ingredients: In a separate bowl, whisk together the flour, baking soda, and salt.
- Gradually Add Dry Ingredients to Wet Ingredients: Gradually add the dry ingredients to the wet ingredients, mixing until just combined. Be careful not to overmix.
- Stir in Chocolate Chips: Stir in the chocolate chips until evenly distributed throughout the dough.
- Chill the Dough: Cover the bowl with cling film and chill the dough in the refrigerator for at least 30 minutes.
- Preheat Oven: Preheat your oven to 190°C (170°C fan/Gas Mark 5). Line baking sheets with parchment paper.
- Drop by Rounded Tablespoons: Drop rounded tablespoons of dough onto the prepared baking sheets, leaving a little space between each cookie.
- Bake: Bake for 9-11 minutes, or until the edges are golden brown and the centres are still slightly soft.
- Cool: Let the cookies cool on the baking sheets for a few minutes before transferring them to a wire rack to cool completely.
Notes
Whip up Snoop Dogg’s Rolls Royce Cookies! This easy, child-approved recipe is perfect for busy families. Tested in my English kitchen!