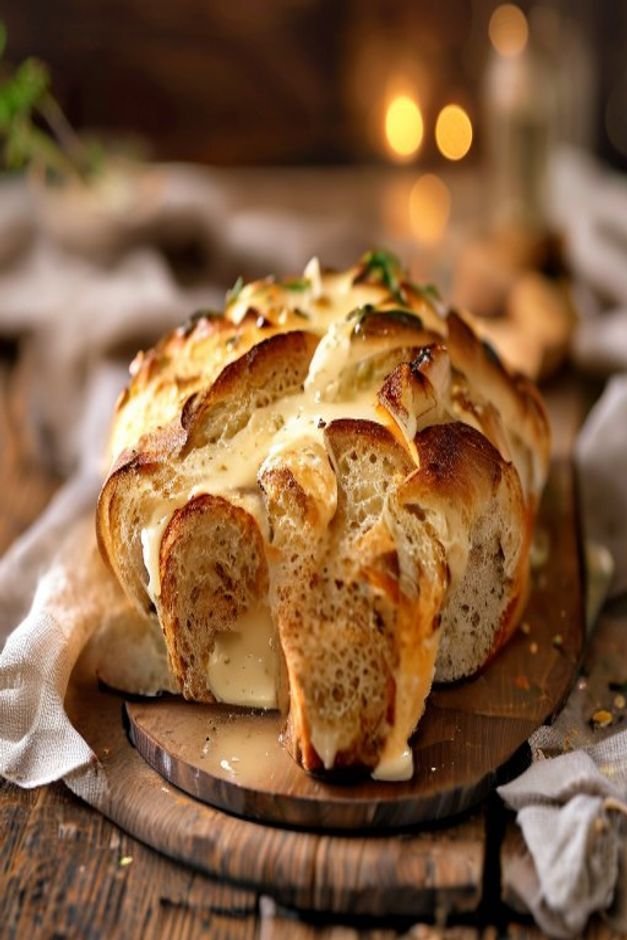
There’s something absolutely magical about pulling a golden loaf of homemade bread from your oven, watching the steam rise as you slice through that perfect crust, and taking that first warm, buttery bite. After years of experimenting with countless homemade bread recipes, I’ve finally created what I consider the ultimate loaf—one that combines traditional bread-making wisdom with a Japanese technique that keeps your bread impossibly soft for days. This Ultimate Buttermilk Honey Bread has become my go-to recipe, the one I make every single week, and the one that’s converted even my most skeptical friends into home bakers.
About This Recipe
This isn’t just another entry in the endless collection of homemade bread recipes you’ll find online. What makes this loaf truly special is the combination of three game-changing elements: a tangzhong starter (a cooked flour-and-milk roux), the tangy richness of buttermilk, and the subtle sweetness of honey. The tangzhong method, borrowed from Japanese milk bread techniques, gelatinizes the flour before you even begin mixing your dough, allowing it to absorb significantly more liquid. The result? Bread that stays soft and fresh for up to a week—no preservatives needed.
I discovered this technique after becoming frustrated with homemade bread recipes that produced beautiful loaves that turned dry and crumbly within two days. As someone who bakes for a small household, I needed bread that could last through the week without losing its tender crumb. After testing dozens of variations, this recipe emerged as the clear winner. The buttermilk adds a subtle tang and tenderness that you simply can’t achieve with water or regular milk alone, while the honey provides just enough sweetness to make this bread incredibly versatile.
What I love most about this recipe is how it takes the best elements from various homemade bread recipes and combines them into something greater than the sum of its parts. The tangzhong gives you the soft, pillowy texture of Asian milk breads. The buttermilk provides the tender crumb of American sandwich breads. The honey adds a touch of sweetness reminiscent of brioche, but without the heavy richness. It’s truly the best of all worlds in one perfect loaf.
Why You’ll Love It
Let me count the ways this bread will change your baking life! First and foremost, the texture is absolutely incredible—soft and tender with a fine, even crumb that makes every slice perfect for sandwiches, toast, or just eating plain with butter. Unlike many homemade bread recipes that produce loaves with an irregular crumb or tough texture, this method creates consistently professional results. The crust strikes that perfect balance between being substantial enough to hold the loaf together but tender enough that you’re not fighting with it when you make a sandwich.
The flavor profile is another reason this recipe stands out among homemade bread recipes. The buttermilk adds a subtle tanginess that makes the bread taste more complex and interesting than your standard white bread, while the honey provides gentle sweetness without making it taste like dessert. It’s the kind of bread that tastes amazing on its own but never competes with whatever you pair it with—whether that’s savory sandwich fillings, sweet jams, or simply good butter and flaky salt.
But perhaps the most compelling reason to make this bread is its incredible shelf life. Thanks to the tangzhong starter, this loaf stays remarkably soft and fresh for 5-7 days at room temperature. I’ve tested this extensively (for science, of course), and I can confirm that a slice from day six tastes nearly as good as a slice from day one. This makes it one of the most practical homemade bread recipes for busy families or small households who can’t consume an entire loaf in two days. No more racing against time to finish your bread before it goes stale!
Ingredients and Notes
The ingredient list for this bread might look similar to other homemade bread recipes at first glance, but each component plays a crucial role in creating the final texture and flavor. Let’s start with the tangzhong starter, which requires just 1/3 cup of whole milk and 3 tablespoons of bread flour. This small amount of cooked paste makes an enormous difference in the final product. When you cook flour with liquid, the starches gelatinize and can hold much more moisture than raw flour. This is the secret weapon that keeps your bread soft long after other homemade bread recipes would have dried out.
Buttermilk is the star ingredient that sets this recipe apart from standard homemade bread recipes. I use a full cup of buttermilk, which needs to be warmed to about 110°F—warm enough to activate the yeast but not so hot that it kills it. The acidity in buttermilk tenderizes the gluten structure, resulting in a softer crumb, and it adds a subtle tang that makes this bread taste more complex and interesting. If you don’t have buttermilk, you can make a substitute by adding 1 tablespoon of lemon juice or white vinegar to 1 cup of regular milk and letting it sit for 5 minutes, though I highly recommend using real buttermilk for the best results.
I prefer honey over sugar in this recipe because it adds moisture along with sweetness, and it contributes to that beautiful golden crust. The honey flavor is very subtle in the final bread—just enough to make you wonder what makes it taste so good. For the flour, bread flour is essential rather than all-purpose. The higher protein content in bread flour (usually 12-14% versus 10-12% in all-purpose) creates more gluten structure, giving you that perfect chewy texture that makes homemade bread recipes so satisfying. The egg adds richness and helps with browning, while the butter contributes flavor and tenderness.
Step-by-Step Instructions
Making this bread begins with creating the tangzhong starter, which might seem like an unusual first step if you’re used to traditional homemade bread recipes, but trust me—it’s incredibly easy and makes all the difference. In a small saucepan, whisk together the milk and 3 tablespoons of bread flour until no lumps remain. Place the pan over medium heat and cook, stirring constantly with a whisk or wooden spoon. Within 2-3 minutes, you’ll notice the mixture transform from a thin liquid to a thick paste that leaves trails when you stir. It should look like thick mashed potatoes. Remove it from the heat immediately and transfer it to a bowl to cool to room temperature—this usually takes about 20 minutes.
While your tangzhong cools, prepare the yeast mixture. In a large mixing bowl, combine your warm buttermilk and honey, stirring until the honey completely dissolves. Sprinkle the yeast over the surface and give it a gentle stir. Let this mixture sit undisturbed for 8-10 minutes until it becomes foamy and puffy on top. This step, called proofing, ensures your yeast is alive and active—something that’s crucial for all successful homemade bread recipes. If your yeast doesn’t foam, it might be dead (check the expiration date) or your buttermilk might have been too hot or too cold. The ideal temperature is 110°F, which should feel warm but not hot when you test it on your wrist.
Once your yeast is foamy and your tangzhong has cooled, whisk the tangzhong, egg, and softened butter into the yeast mixture until everything is well combined. The mixture will look a bit lumpy and strange—that’s completely normal! In a separate bowl, whisk together your bread flour and salt (whisking dry ingredients together ensures even distribution of salt, which is important in homemade bread recipes). Add the flour mixture to your wet ingredients one cup at a time, stirring with a wooden spoon after each addition. After the fourth cup, the dough will be shaggy and difficult to stir—that’s your signal to start kneading.
Turn the dough out onto a lightly floured surface and begin kneading. This is where many homemade bread recipes can feel intimidating, but I promise it’s easier than you think. Push the dough away from you with the heels of your hands, fold it back over itself, give it a quarter turn, and repeat. Develop a rhythm and enjoy the meditative quality of the process. After 8-10 minutes of kneading, your dough should be smooth, elastic, and slightly tacky but not sticky. If it’s sticking to your hands or the counter, add flour sparingly—just a tablespoon at a time. Adding too much flour is one of the most common mistakes in homemade bread recipes, resulting in dense, dry loaves.
Pro Tips and Tricks
After making this recipe countless times and teaching it to friends and family, I’ve learned several tricks that elevate it from good to absolutely spectacular. First, temperature matters more than most homemade bread recipes emphasize. Your kitchen temperature directly affects rising times—in a warm kitchen (75-80°F), your dough might double in just 45 minutes, while in a cooler kitchen (65-70°F), it might take 90 minutes or more. Don’t watch the clock; watch the dough. It should literally double in size, and when you poke it with a finger, the indentation should slowly spring back about halfway.
Here’s a trick I learned from professional bakers that’s rarely mentioned in homemade bread recipes: create a warm proofing environment by turning your oven on to the lowest setting for just one minute, then turning it off. Place your covered bowl of dough inside this slightly warm (not hot!) oven, and it will rise beautifully and consistently. Just make sure you remove the dough before preheating your oven for baking—I’ve learned this lesson the hard way! Another option is to place your dough near (not on) a heating vent or on top of your refrigerator, which tends to be slightly warmer than the rest of the kitchen.
When it comes to shaping, proper technique makes a significant difference in the final appearance of your loaf. After punching down your dough, pat it into a rectangle roughly the same width as your loaf pan is long. Roll it up tightly like a jelly roll, pinching the seam closed as you go. This technique, which is standard in professional homemade bread recipes, creates surface tension that helps the loaf rise upward rather than spreading outward. Place the shaped dough seam-side down in your greased pan, and don’t rush the second rise. The dough should crown about an inch above the rim of the pan before baking. Under-proofed bread will be dense, while over-proofed bread might collapse in the oven.
One final tip that’s transformed my bread-baking: invest in an instant-read thermometer. While many homemade bread recipes rely on visual cues alone, checking the internal temperature takes the guesswork out of knowing when your bread is perfectly done. You’re looking for 190-195°F in the center of the loaf. This ensures your bread is fully baked without being overdone, which can happen if you rely solely on crust color, especially with honey-enriched doughs that brown quickly.
Serving Suggestions
This versatile loaf works beautifully in so many applications, which is why it’s become my default among all homemade bread recipes. For breakfast, nothing beats thick slices of this bread toasted until golden and slathered with butter and jam. The subtle sweetness from the honey means it pairs equally well with strawberry preserves or sharp orange marmalade. I’m also obsessed with using it for French toast—the tender crumb soaks up the custard perfectly without falling apart, and the slight tang from the buttermilk adds wonderful depth to the finished dish.
For lunch, this bread makes phenomenal sandwiches. The soft texture means it won’t tear when you bite into it, but it’s sturdy enough to hold generous amounts of filling without getting soggy. I love it for classic combinations like turkey and Swiss with crisp lettuce and tomato, but it’s equally perfect for more adventurous sandwiches. Try it with my favorite: thick slices of this bread, cream cheese, smoked salmon, capers, and thinly sliced red onion. The bread’s subtle sweetness provides a beautiful contrast to the salty, smoky salmon.
Don’t overlook this bread’s potential as a side dish for soups and stews. Unlike crusty artisan breads that can overwhelm delicate soups, this tender loaf complements without competing. Serve thick slices alongside tomato soup, use it to soak up the last bits of chicken noodle soup, or toast it and rub with garlic to serve alongside minestrone. And here’s something I discovered by happy accident: this bread makes incredible bread pudding. The tangzhong starter means it stays moist even after baking in custard, resulting in the most luxurious bread pudding you’ve ever tasted.
Storage Instructions
Proper storage is crucial for maintaining the quality that makes this one of the best homemade bread recipes for everyday baking. Once your bread has cooled completely—and I mean completely, which takes about 2 hours—slice what you’ll use immediately and store the rest. I’ve found that storing the loaf whole actually keeps it fresher longer, but slicing is more convenient for daily use, so choose based on your needs. Place the bread in a plastic bag, squeeze out as much air as possible, and seal it tightly. Store at room temperature for up to 5-7 days.
Here’s an important note that applies to all homemade bread recipes: never refrigerate your bread unless it contains perishable fillings. Refrigeration actually accelerates staling through a process called retrogradation, where the starch molecules crystallize. Your bread will become dry and crumbly much faster in the fridge than at room temperature. If you notice your bread starting to dry out after a few days (though this recipe stays remarkably fresh), toast it! Toasting revitalizes the texture and brings back that just-baked flavor.
For longer storage, this bread freezes beautifully—another advantage over many homemade bread recipes. Slice the completely cooled loaf and place parchment paper between slices to prevent them from sticking together. Wrap the sliced loaf tightly in plastic wrap, then place it in a freezer bag, removing as much air as possible. Properly wrapped, this bread will maintain its quality in the freezer for up to 3 months. To use, simply remove slices as needed and toast them straight from frozen, or let them thaw at room temperature for about 30 minutes. The tangzhong starter means this bread comes back to life beautifully after freezing, with none of the dry, crumbly texture you might experience with other frozen homemade bread recipes.
If you do find yourself with bread that’s started to go stale (it happens to the best of us), don’t throw it away! Stale bread is perfect for making croutons, breadcrumbs, or bread pudding. Cut it into cubes, toss with olive oil and seasonings, and bake until crispy for the best croutons you’ve ever had. Or pulse it in a food processor to make breadcrumbs that you can freeze and use for months in meatballs, as a topping for casseroles, or as a coating for chicken or fish.
I hope this recipe inspires you to embrace the joy of baking homemade bread recipes regularly. There’s truly nothing like the satisfaction of creating something so fundamental and delicious from such simple ingredients. This Ultimate Buttermilk Honey Bread has become a weekly ritual in my kitchen, and I can’t wait for it to become one in yours too. Once you experience how easy it is to make and how much better it tastes than store-bought bread, you’ll wonder why you didn’t start baking sooner. So preheat that oven, dust off your loaf pan, and get ready to fill your kitchen with the most incredible aroma. Your family and friends will think you’ve been secretly attending culinary school, but it’ll be our little secret that this recipe is actually easy enough for anyone to master. Happy baking!